
Quick Guide: Installing a Doorway Pull-Up Bar Without Tools in Minutes
Installing a Doorway Pull-Up Bar: Quick & Tool-Free Guide
A doorway pull-up bar offers an easy way to build strength at home without permanent installation. Here's how to set it up safely in minutes.
Essential Requirements:
- Standard doorway (24"-36" wide)
- Flat, sturdy door trim (minimum 0.5" thick)
- 5 minutes of your time
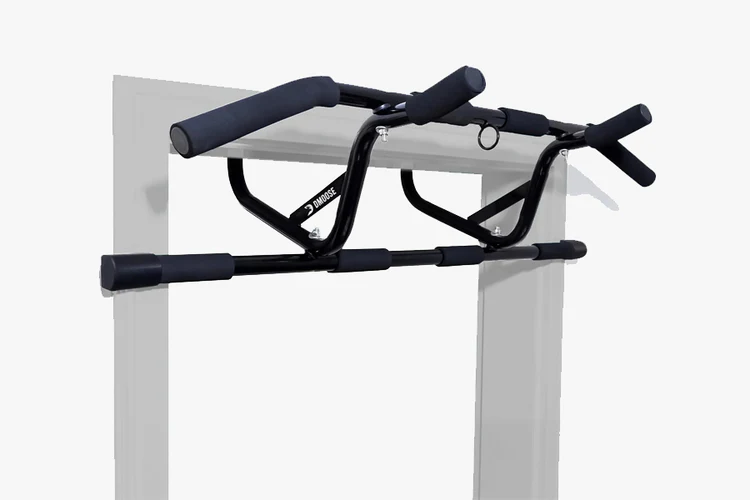
Doorway pull-up bar with foam grips
Installation Steps:
- Unbox and Check Components
- Lay out all parts
- Verify everything is included
- Inspect for damage
- Pre-Assembly
- Unfold the frame
- Listen for locking sounds
- Ensure joints are secure
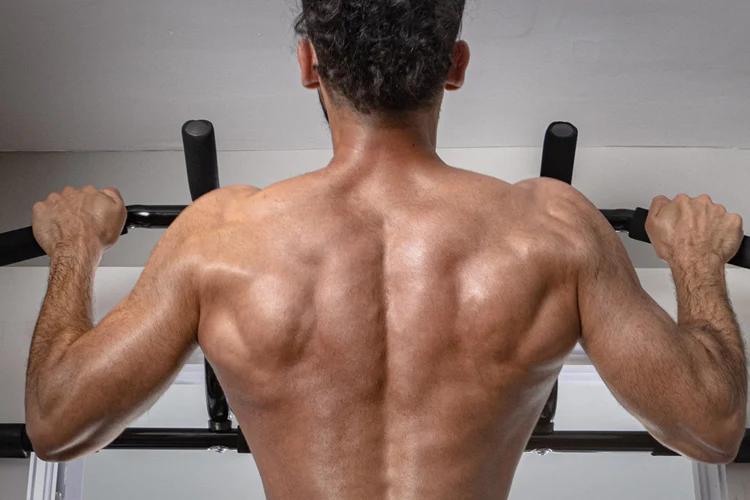
Man doing pull-up exercise
- Position the Bar
- Hook padded top bar over door trim
- Center it evenly
- Ensure flush contact
Pull-up bar mounting steps diagram
- Secure Bottom Support
- Place lower crossbar behind doorframe
- Check for proper tension
- Verify stability
- Test for Safety
- Apply gentle pressure
- Test with partial body weight
- Check for movement
Safety Tips:
- Never exceed weight limits
- Always test before full use
- Remove properly after use
- Store flat when not in use
Common Mistakes to Avoid:
- Installing on weak trim
- Using incorrect doorway sizes
- Skipping stability tests
- Improper removal

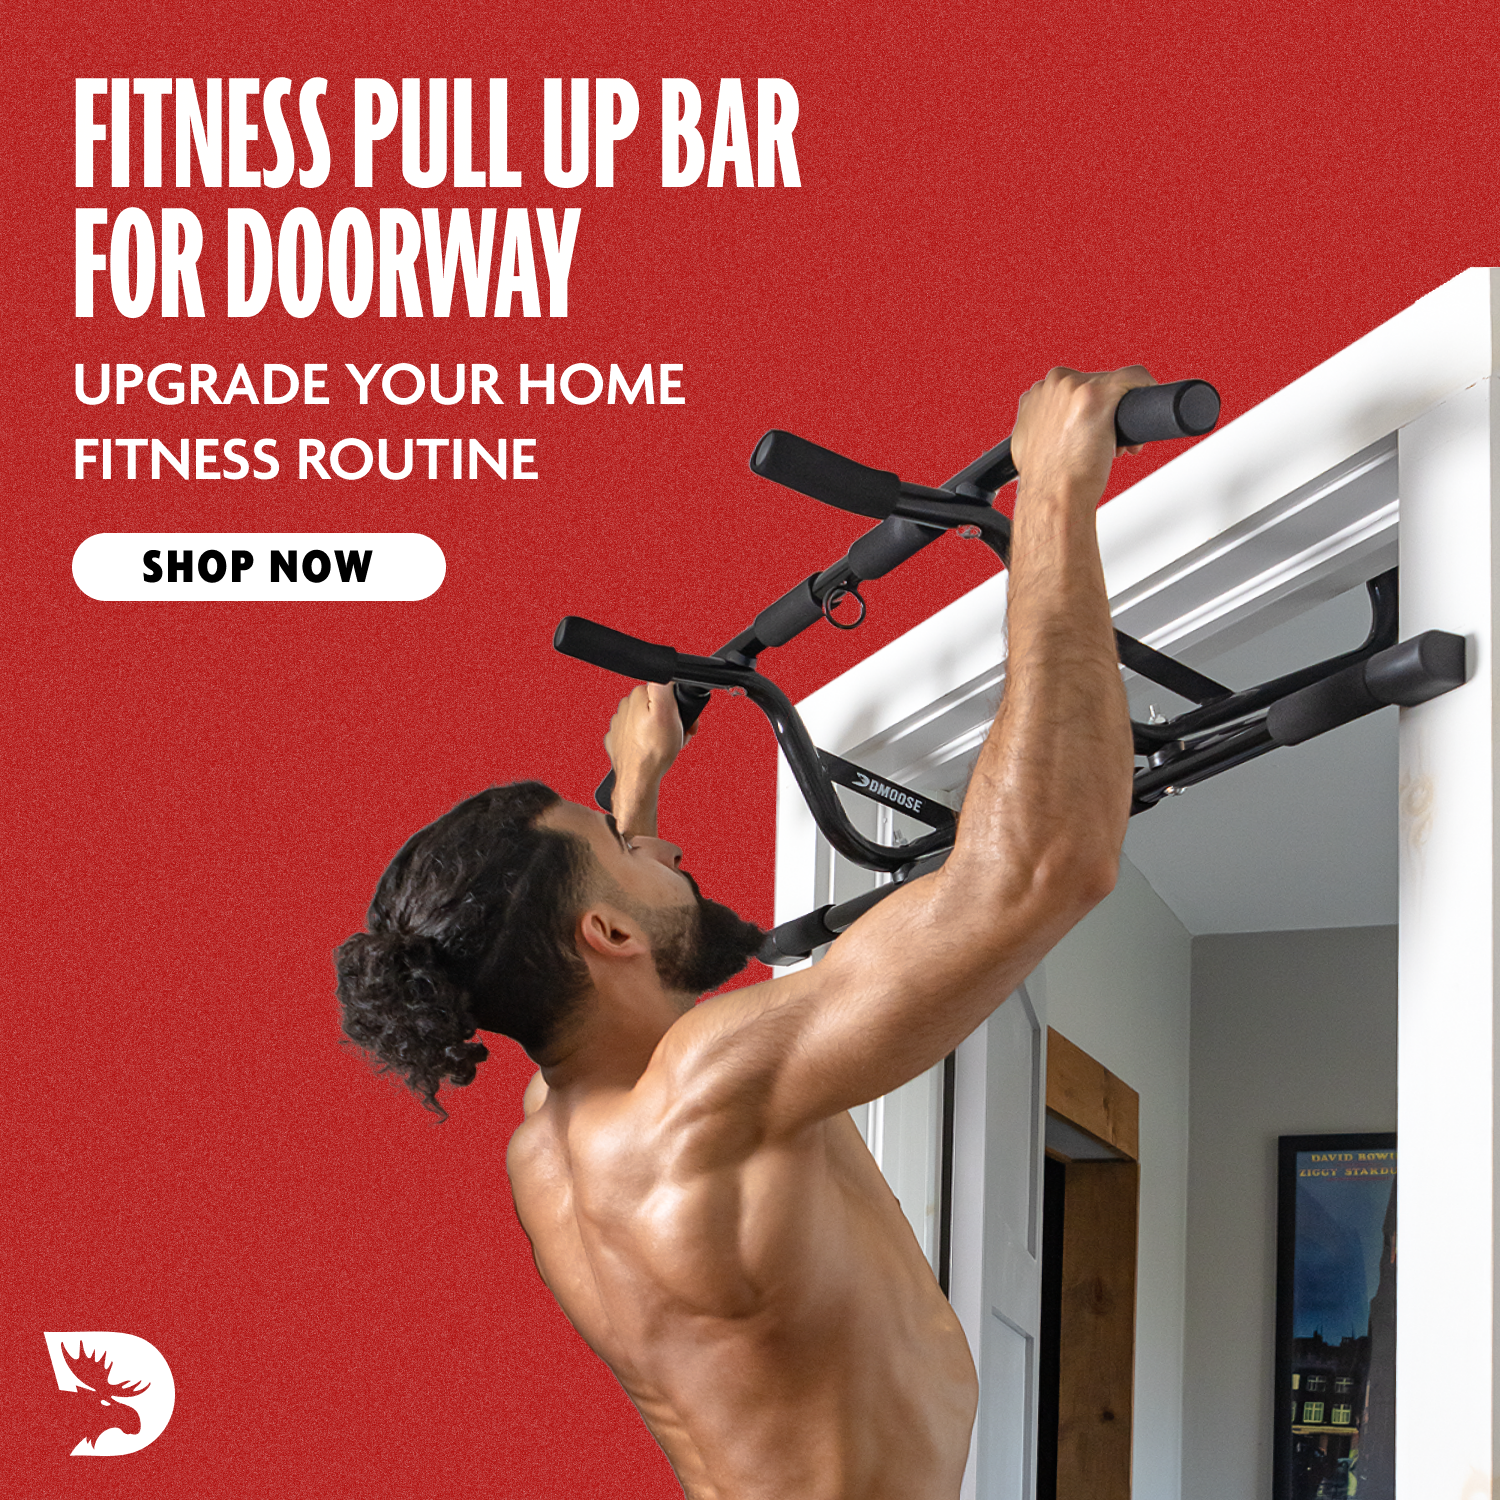
Man installing doorway pull-up bar
Quick Removal:
- Lift top bar gently
- Pull bottom support away
- Store safely
FAQs:
- Installation requires no tools
- Most standard doorways work
- Door cannot close while bar is mounted
- Proper installation ensures safety
- Regular stability checks recommended

Man lifting dumbbell
[Product images and related content retained as per original]